顯示具有 天文_攝影 標籤的文章。 顯示所有文章

2026年4月18日 星期六

my Telescopes 我的天文望遠鏡 ( 1994 ~ 2026 )

 my Telescopes ( 1994 ~ 2026 ) 

 我的天文望遠鏡 


Telescopes: 

Vixen GP-80M.SM ( since 1994 Dec ) 

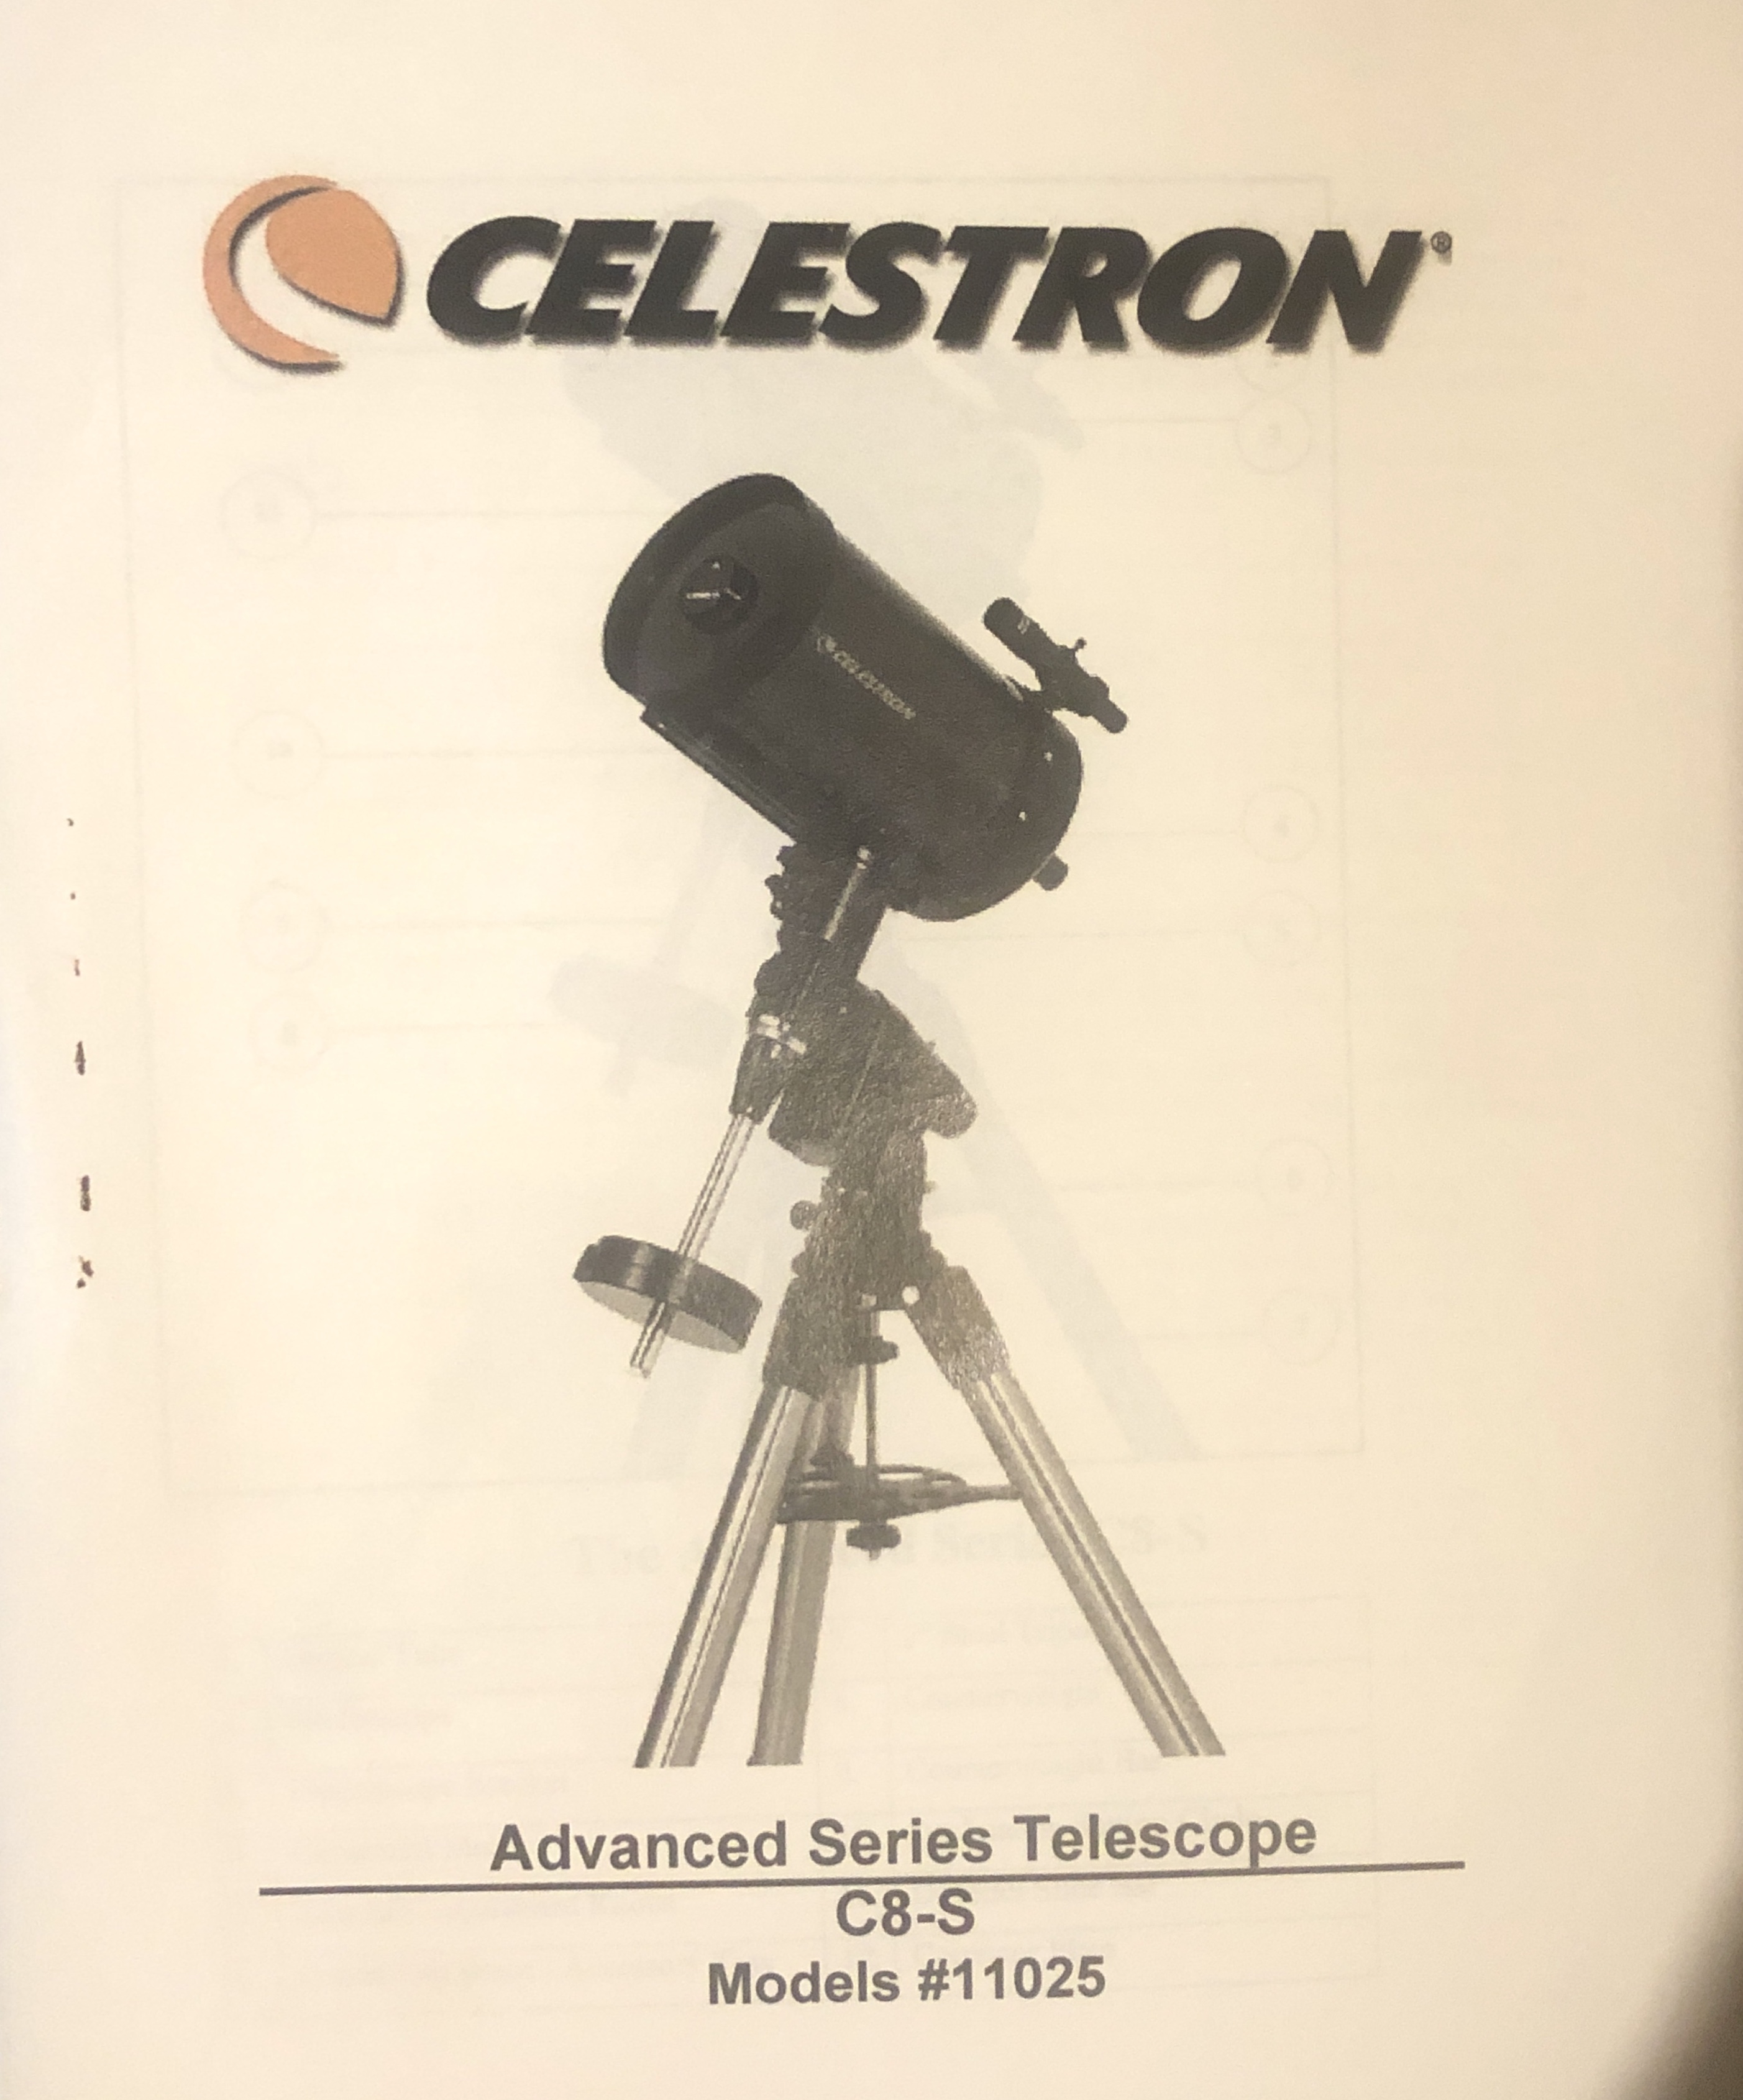
Celestron C8 (since 2000 Feb )   

Microtech 8 in Newtonian Reflector ( ? )   

SkyWatcher 120ED PRO (since 2011 Nov)   

Tamron SP 150-600mm F/5-6.3 ( since 2017) 

Acuter 80 ( 小藍馬 ) 

Dwarf II smart telescope (2023 Jul ) 

ZWO Seestar S50 (2023 Oct) 

GALUXE GSO RC8 (2026) 

Kenko Sky Explorer SE-150L ( 天文大紅 )  

Takahashi 高橋 FC-76DCU  


Equatorial Mount: 

Vixen GP equatorial mount ( since 1994 ) 

Meade LXD75 equatorial mount (not working now 故障未修) 

EQ6 Equatorial Mount (since 2011)  

Sky-Watcher Star Adventure Mini ( 2017, sold 已售出) 

Acuter (2022, donated to someone 捐贈給王老師)  

iOptron GEM28 (2026-04-16)  


Cameras: 

Canon EFS 18-200mm 

Canon EOS 500D 

ZWO ASI120MC-S Planetary Camera ( 2018 Aug ) 

ZWO ASI662 ? (2025)  


Smart Telescopes: 

Dwarf II Smart Telescope ( 2023 Jul ) 

https://helloshiau.blogspot.com/2023/07/dwarf-ii-smart-telescope-dwarf-ii.html


ZWO SeeStar S50 Smart Telescope ( 2023 Oct ) 

https://astronomy-imaging-camera.com/product/zwo-seestar/


other Telescopes: 

Apollo - MC 120D 

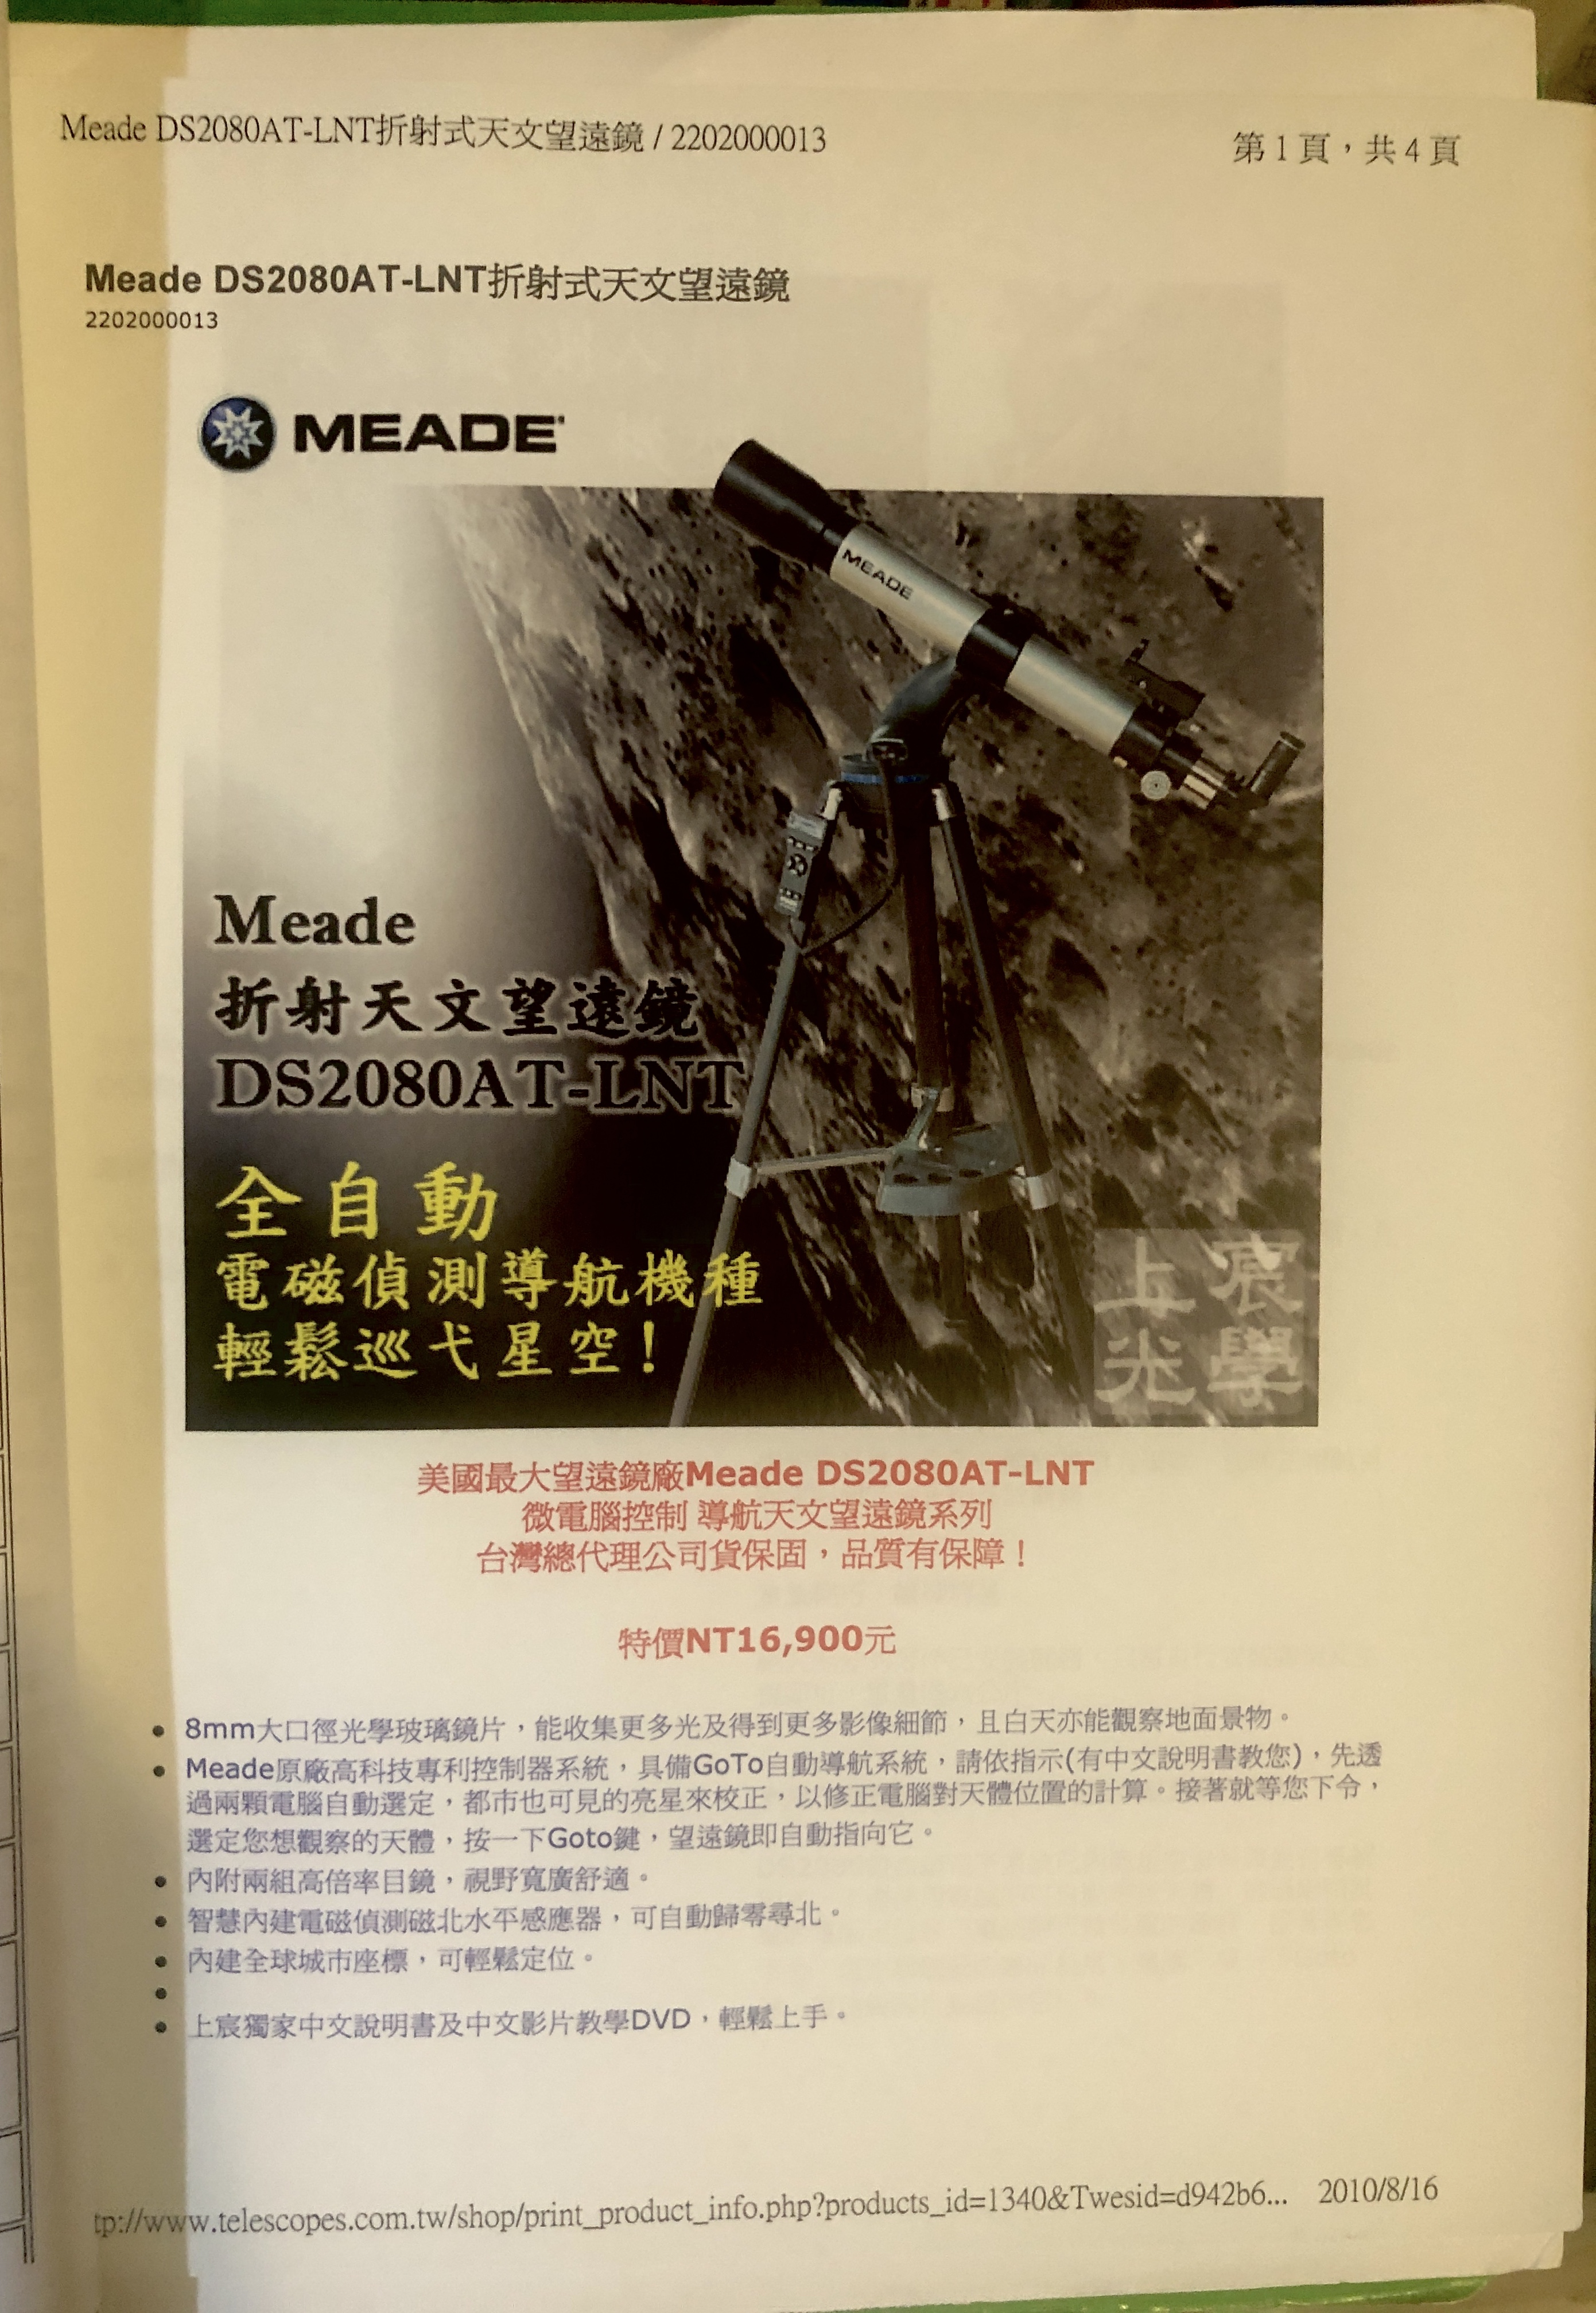
Meade DS2080AT (donated to someone 捐贈給王老師)  

SkyWatcher Newtonian Reflector 


*******************************************

*******************************************

Spec of Telescopes:  


SkyWatcher 120ED PRO  = D: 120mm,  Focal length: 900 mm,  F/7.5,  weight: 4.4 (5.13) Kg

Celestron C8  = D: 8" (200mm),  Focal length: 2032 mm,  F/10,  weight: ~ 13 lb 5.9 (6.8) Kg

      (optimum back focus distances for Celestron SCT = 5" in = 12.5 cm )

      https://www.celestron.com/blogs/knowledgebase/what-are-the-optimum-back-focus-distances-for-celestron-scts

Vixen GP-80M.SM  = D: 80mm,  Focal length: 910 mm,  F/11.4,  weight: 2.5 (3.3) Kg

Microtech 8" Newtonian Reflector  = D: 8"  200 mm,  Focal length: 800 mm,  F/4,  weight: ?? Kg

Tamron SP 150-600mm F/5-6.3 ( since 2017) 

Canon EFS 18-200mm 

Dwarf II Smart Telescope ( 2023 )

ZWO Seestar S50 (2023)

Galuxe GSO RC8 (2026) = D: 203mm, Focal length: 1624 mm,  F/8,  weight: 7.5 Kg

Kenko Sky Explorer SE-150L (2026) = D: 150mm, Focal length: 1800 mm,  F/12,  weight: 5.6 Kg

Takahashi 高橋 FC-76DCU (2026)  = D: 76mm, Focal length: 570 mm,  F/7.5,  weight: 1.9 Kg


Equatorial Mount: 

Vixen GP equatorial mount = = Load 7 Kg 

EQ6 Equatorial Mount = = Load 40 lb 18 Kg 

Meade LXD75 equatorial mount (not working)  = = Load 7.5 Kg (故障未修) 

Sky-Watcher Star Adventure Mini ( 2017, sold 已售出) 

iOptron GEM28 == Load 12.7 Kg 


Alt-Azimuth Mount:

Acuter (2022)


Cameras: 

Canon EOS 500D = = CMOS size 22.3 x 14.9 mm  pixel Large 4752 x 3168 pixel size ~ 4.7 um

ZWO ASI120MC-S Planetary Camera = = size 4.8 x 3.6 mm pixel 1280 x 960 pixel size 3.75 um

Dwarf II Smart Telescope ( 2023 )  D=24 mm, f=100 mm, F 4.2(Tele) 2.4(Wide), CMOS 8 M pixel


other Telescopes: 

Apollo - MC 120D = = D: 102mm,  Focal length: 1000mm,  F/10,  weight: about ?? Kg

Meade DS2080AT 

SkyWatcher Newtonian Reflector


*******************************************

*******************************************


SkyWatcher 120ED PRO (since 2011 Nov)   

with Vixen GP equatorial mount

SkyWatcher 120ED PRO  +  Vixen GP 赤道儀

Aperture: 120mm,  Focal length: 900mm,  F/7.5,  weight: 4.4 Kg

這支折射鏡相當好,我很喜歡。


Setup configuration
架設完成 的 外觀


Fishbone focusing plate ( Bahtinov Mask )
對焦 用的 魚骨板


EQ6 Equatorial Mount 


Celestron C8 (since 2000 Feb )   

with Meade LXD75 equatorial mount

Aperture: 8" (inch),  Focal length: 2032mm,  F/10,  weight: about 13 lb ( 5.9 Kg)

太陽光學買的,買來光軸就不準。


原 po文在 #86樓

https://familystar.org.tw/index.php?option=com_smf&Itemid=45&topic=4765.75

(C) 2011-02-26 YC Shiau


Microtech 8" in Newtonian Reflector ( ? )   

Aperture: 8"  200mm,  Focal length: 800mm,  F/4,  weight: about ?? Kg

上宸買的周年慶特價品,
光學品質相當好,1/10 波長精度。
可惜很重,
可惜直焦,直接接單眼相機 時無法合焦!


Meade LXD75 equatorial mount 

I do not think this is a good equatorial mount, because (1) The RA motor burned out twice. (2) There is a gap about 2 degrees when crossing meridian. Presently, it is not working.


Vixen GP-80M.SM ( since 1994 Dec ) 

with GP equatorial mount

Aperture: 80mm,  Focal length: 910mm,  F/11.4,  weight: about ?? Kg

早期吳志剛先生推薦給我的「入門鏡」,品質非常好,我非常滿意!

這支折射鏡看天狼星,可以看到繞射光圈,已經到達光學極限,

所以我認為品質非常好!


Photographing the partial solar eclipse  拍攝日偏食  ( 2010-01-15 )


Photographing the venus  拍攝金星


Tamron SP 150-600mm F/5-6.3 ( since 2017) 

For 2017 Total Solar Eclipse in America 


Sky-Watcher Star Adventure Mini ( 2017) 

For 2017 Total Solar Eclipse in America ( Sold after the solar eclipse )


Canon EFS 18-200mm 

Canon EOS 500D 


ZWO ASI120MC-S Planetary Camera ( 2018 Aug ) 


Dwarf II Smart Telescope (2023) 


Appolo - MC 120D 

Aperture: 102mm,  Focal length: 1000mm,  F/10,  weight: about ?? Kg

這組號稱地面與天文觀測都很好,實測是光學品質很普通,

地面與天文觀測都不很好!


Meade DS2080AT 

送給王老師


SkyWatcher Newtonian Reflector 


Takahashi 高橋 FC-76DCU (2026-04-16)  


since 2023-04-14

Flag Counter


2023-05-03

2023-06-02

2023-07-08

2026-04-19


2026年3月14日 星期六

製作 Allsky 全天相機 - Raspberry Pi 樹莓派 安裝 allsky 軟體,Tapo C325WB 改鏡頭

 製作 Allsky 全天相機  
  Raspberry Pi 樹莓派 安裝 allsky 軟體 
  Tapo C325WB 改鏡頭  


Raspberry Pi 樹莓派 也用了幾年了,差不多就是個小電腦,滿好用的,

適合 24小時開機,執行相對簡單而想要一直執行的程式功能。 好處是省電,又比電腦便宜。


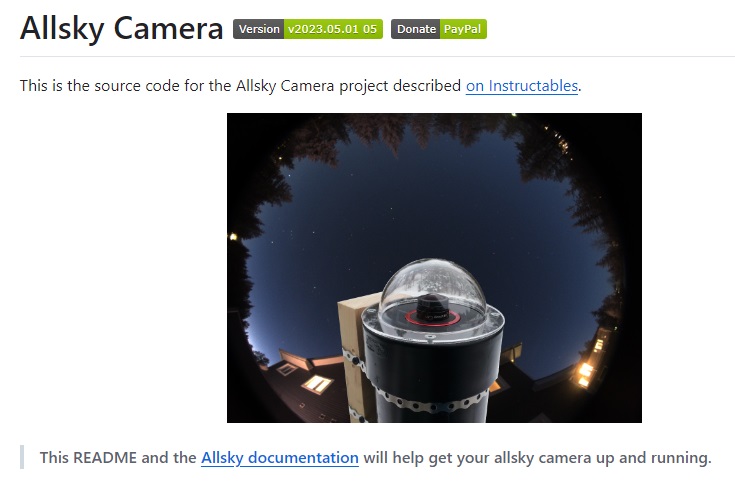
安裝 allsky 全天相機軟體,可以拍攝 全天星空,樣子類似 星座圖 的呈現,滿漂亮的。


** 原作軟體 allsky **  


安裝軟體:


https://github.com/AllskyTeam/allsky?tab=readme-ov-file


********************************************

sudo apt-get update

sudo apt-get upgrade

sudo apt-get install git

Installation

The following commands will put the new release of Allsky in ~/allsky. Except for some system files, all Allsky-related files reside in this directory. If you later install the Allsky Website on the Pi, its files will also go in this directory.

cd~
git clone --recursive https://github.com/AllskyTeam/allsky.git
cd allsky
./install.sh

The git clone will take a couple minutes and should produce output similar to what's below. The new allsky directory is approximately 150 MB after download.

Cloning into 'allsky'...
remote: Enumerating objects: 16464, done.
remote: Counting objects: 100% (494/494), done.
remote: Compressing objects: 100% (395/395), done.
remote: Total 16464 (delta 275), reused 220 (delta 96), pack-reused 15970
Receiving objects: 100% (16464/16464), 94.03 MiB | 1.13 MiB/s, done.
Resolving deltas: 100% (9845/9845), done.
Submodule 'src/sunwait-src' (https://github.com/risacher/sunwait) registered for path 'src/sunwait-src'
Cloning into '/home/pi/allsky/src/sunwait-src'...
remote: Enumerating objects: 130, done.        
remote: Counting objects: 100% (82/82), done.        
remote: Compressing objects: 100% (37/37), done.        
remote: Total 130 (delta 60), reused 53 (delta 45), pack-reused 48        
Receiving objects: 100% (130/130), 125.99 KiB | 848.00 KiB/s, done.
Resolving deltas: 100% (72/72), done.
Submodule path 'src/sunwait-src': checked out '102cb417ecbb7a3757ba9ee4b94d6db3225124c4'

The installation prompts for several items that allow it to configure the Pi so Allsky runs most efficiently given your Pi's configuration. These prompts include:

  • New host name, if not the default of allsky. If you have more than one Pi on the same network they must all have unique names. For example, if you have a test Pi you may want to call it allsky-test.
  • Adding swap space if needed. Swap space effectively increases the amount of memory your Pi has. Insufficient swap space is one of the leading causes of timelapse video creations problems.
  • Putting the ~/allsky/tmp directory in memory instead of on the disk. This directory holds temporary Allsky files and is where most Allsky files are written to. Putting the directory in memory significantly reduces the number of writes to the SD card, which increases its life.
It's highly recommended to accept the defaults.


Post installation

After installation, reboot then perform any actions the installation script identified.

If instructed to copy the contents of a prior configuration file to the new release, it's important to manually copy the values from the old file to the new file and not copy the entire file.
After the reboot, do the following:

帳號,密碼:  
  1. Bring up the WebUI by entering http://allsky.local or http://allsky.localhost in a web browser. The default username is admin and the default password is secret.  
    If your website is publically viewable you should change the username and password via the Change Password link on the WebUI.
  2. Go to the Allsky Settings page.
  3. Make any necessary changes.
  4. Click on the Save changes button. Allsky will (re)start.
  5. If instructed to update the config.sh and/or the ftp-settings.sh files:
    1. Go to the Editor page.
    2. Select the appropriate file in the drop down list.
    3. Edit the file. Do NOT simply copy a previous version.
    4. Click the green "Save Changes" button. Allsky will not restart but the changes will take effect when the next image is taken.
安裝完成之後,要進入網頁的 Allsky Settings 調整各項設定:  


為了偵測流星,做了一組 Allsky 全天相機,與「北東南西」朝四個方向的一體攝影機: 


Tapo C325WB 改鏡頭 


Tapo C325WB 改鏡頭 


使用 OBS Studio 做 Youtube 直播


** 原作軟體 indi-allsky ** ( 較新版的 allsky... )  


安裝軟體:

https://github.com/aaronwmorris/indi-allsky/wiki/Getting-Started


sudo apt-get update


sudo apt-get upgrade


To run an instance of indi-allsky, you need to perform the following actions:


  1. Install git
sudo apt-get install git


  1. Clone the indi-allsky git repository
git clone https://github.com/aaronwmorris/indi-allsky.git

  1. Navigate to the indi-allky sub-directory
cd indi-allsky/

  1. Run setup.sh to install the indi-allsky system
./setup.sh

帳號,密碼:自訂 - 需要記好!!  
( Raspberry Pi 4B 大約跑了 19分鐘 )


The setup.sh script will tell you if you are required to build the INDI software (documented below)

Note 1: If you run into problems with missing commands here, you may need to install additional packages to get started.


如果出現提示:系統還沒有安裝 INDI software, 則需輸入以下指令: 


sudo apt-get install lsb-release libc-bin whiptail

或是

./misc/build-indi.sh

( Raspberry Pi 4B 大約跑了 30分鐘 )


INDI-Allsky Software Review

https://www.gordtulloch.com/2023/01/06/indi-allsky-software-review/

Installing INDI-Allsky [2]is pretty much the same as installing the TJ software, where you open up a command line (scary I know!) and copy in the following commands:

apt-get install git
git clone https://github.com/aaronwmorris/indi-allsky.git
cd indi-allsky/
./setup.sh
systemctl –user start indiserver
systemctl –user start indi-allsky


2025-10-10 

安裝過程,前段選擇camera要正確,後段出現的選項,儘量都選「內定值」, 

這樣,差不多都會成功了! 


2024-12-28 

安裝成功了! 


2024-12-28 

安裝了四次都失敗! 

心裡想 可能需要重新安裝,或者直接 放棄 ....

第五次安裝,在安裝 indi 系統時,「進階檔案功能」等等幾個選項都不要,

沒想到 可以執行 indi-allsky 了!

但是 AWB「自動白平衡」需要手動打開,不然影像超暗,

畫面上的字超小,而且很難調整,

然後一直出現 No image ...


如果 indi-allsky 的設定 調到調不回正常,

用以下方法「恢復 內定值」


Reset Configuration

Aaron W Morris edited this page on Feb 14 · 2 revisions

Overview

Use these instructions if you want to revert all configurations to the defaults.

  1. Stop indi-allsky

     systemctl --user stop indi-allsky
     systemctl --user stop gunicorn-indi-allskyㄎActivate the virtualenv
  2. cd ~/indi-allsky
  3. source virtualenv/indi-allsky/bin/activate
  4. Backup current config

     ./config.py dump > indi_allsky_config_$(date +%Y%m%d_%H%M%S).json
    
  5. Flush all configs

     ./config.py flush
    
  6. Bootstrap a fresh config

     ./config.py bootstrap


2024-12-05

2024-12-06

2024-12-10

2024-12-28

2025-08-24

2025-10-10

2026-03-24


Dr. Shaw YC Shiau PhD 蕭醫師 蕭博士 蕭同學 首頁 置頂文 標籤 分類搜尋

There will be Advertisement  (personalized)   inserts in Google Blog. Sorry!  谷歌 的 部落格 會有 置入廣告 (個人化的) ,請見諒!    Information Service   b...