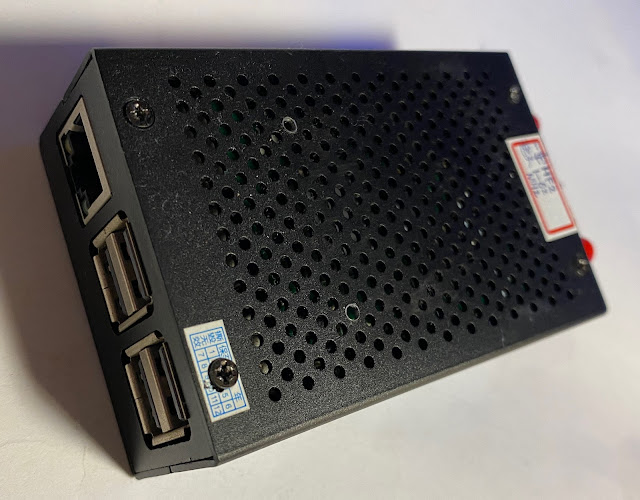
Flydog SDR (kiwiSDR clone) 接收機 觀賞 安裝 與測試
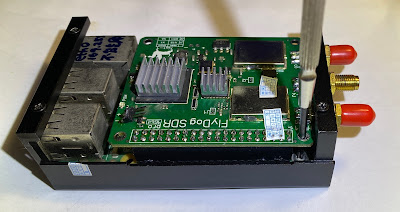
自己拆機修理的時候,角落還藏了一顆螺絲,
需要轉開,然後先抽出 SD 卡,下蓋才可以分離。
github 可以找到 FlyDogSDR 可用的 映像檔
https://github.com/flydog-sdr/raspbian-builder/releases
試了很多次,發現可以開機,但是 dhcp 沒辦法抓到 ip,所以不能用!
繼續研究:
Instruction to Attach kiwisdr to RaspberryPi Board
https://github.com/jks-prv/Beagle_SDR_GPS/blob/master/RASPBERRYPI
## Software Installation Guide
1. Use the latest version of Raspbian *Lite* from the RaspberryPi official website.
https://www.raspberrypi.org/downloads/raspbian/
1. Create SD image following the instruction
1. Use PC or laptop to open the SD card, add 'ssh' (without extension name) into boot partition to enable SSH.
Reference: https://www.raspberrypi.org/documentation/remote-access/ssh/
1. Install necessary software to build and run KiwiSDR software
>sudo apt update ; sudo apt-get install -y git libfftw3-single3 curl wget avahi-daemon avahi-utils libnss-mdns avahi-autoipd miniupnpc dnsutils netpbm ethtool sshpass psmisc jq zlib1g libsndfile1
1. Enable SPI and I2C
You can following the GUI via raspi-config to enable two interfaces
Or you can remove # before the following two lines in /boot/config.txt:
dtparam=i2c_arm=on
dtparam=spi=on
Reference: https://raspberrypi.stackexchange.com/questions/48228/how-to-enable-spi-on-raspberry-pi-3
1. clone the bits and build/install
>sudo su
>cd /root
>git clone https://github.com/jks-prv/Beagle_SDR_GPS.git
>make
>make install
1. Reboot, enjoy. The code will get update automatically when there is a new version.
某一天猜想,dhcp 沒辦法抓到 ip,如果換一個網卡,
對 樹莓派 而言,我買了一個「USB 轉網路」 的接頭,
插上,開機,重開機,
沒想到 dhcp 抓到 ip 了! 我成功修好這個 FlyDogSDR 了! 滿高興的
COMPARING THE KIWISDR AGAINST THE RASPBERRYSDR CLONE
https://www.rtl-sdr.com/comparing-the-kiwisdr-against-the-raspberrysdr-clone/
https://github.com/jks-prv/Beagle_SDR_GPS/blob/master/RASPBERRYPI
2023-11-05
2023-11-19
2023-12-23


沒有留言:
張貼留言